


I do quite a bit of siding rehab work, much of it on relatively new houses. I think our weather is partly to blame —where I live in Iowa, siding can be subjected to numerous freeze/thaw cycles over the course of a single day, all winter long. But I also blame builders who use poor flashing details and overlook the manufacturer’s installation and clearance recommendations, leaving the siding exposed to excess moisture. Often, there are also problems with the drainage plane beneath the siding, which can lead to more serious structural damage.
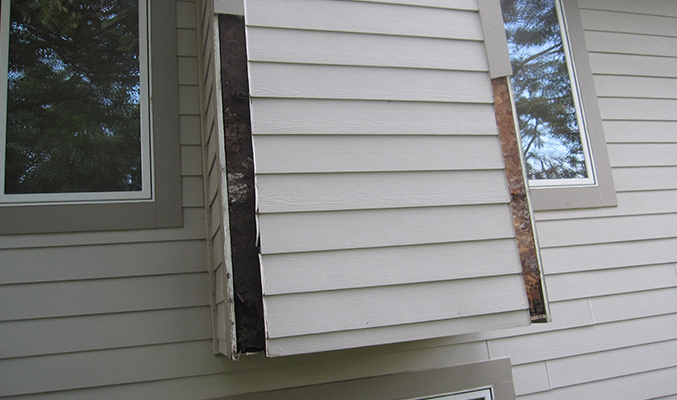
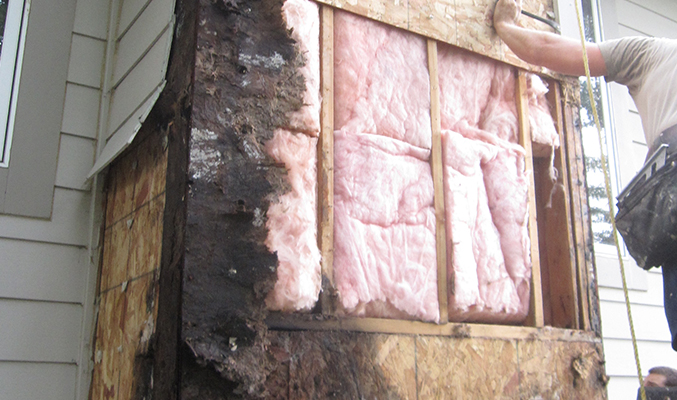
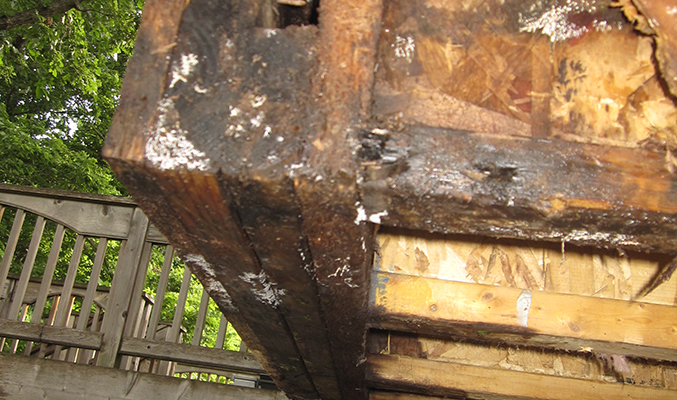
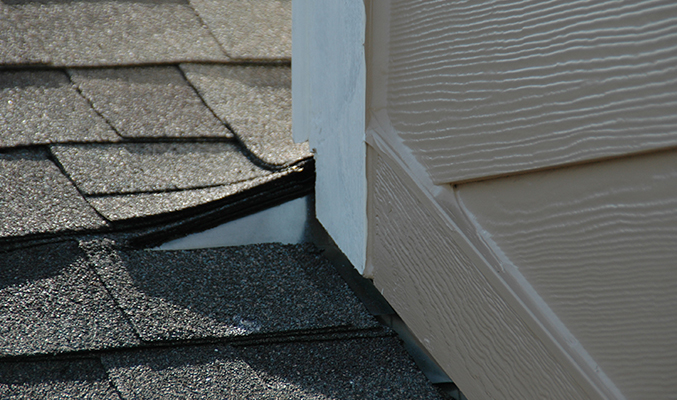
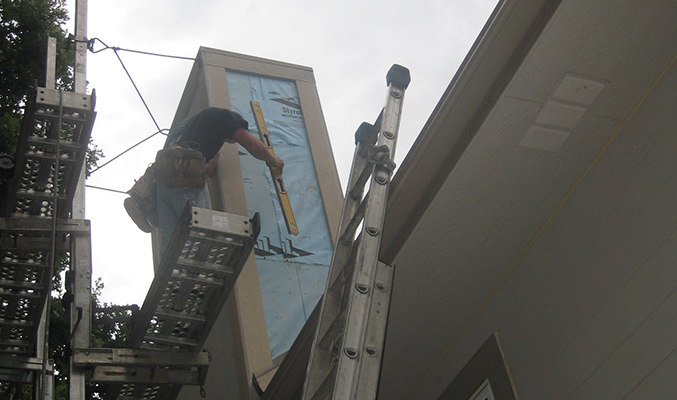
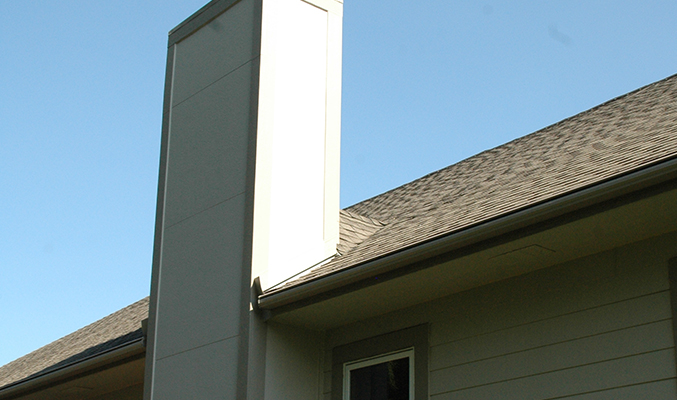
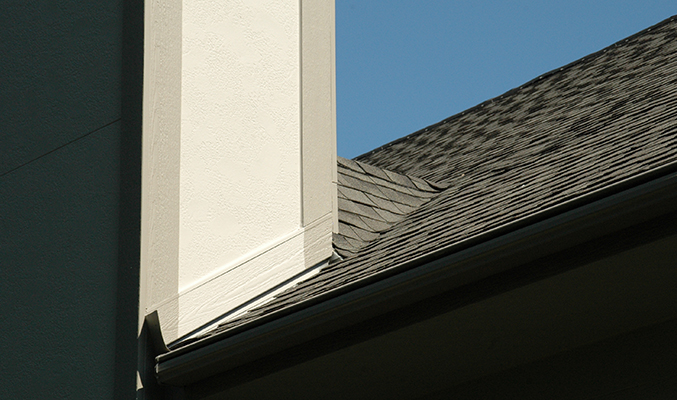
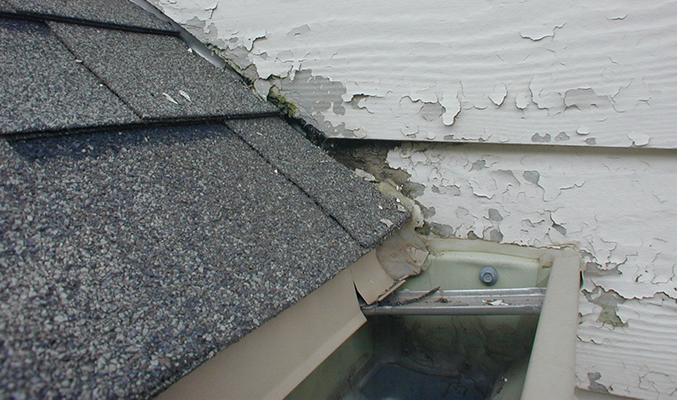
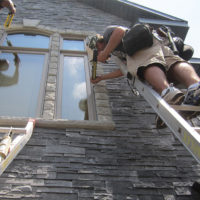
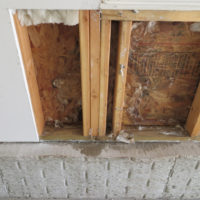
Framed chimney chases seem to be especially vulnerable, and I’ve repaired a lot of them over the years. For example, the house shown here was built just a few years before my crew and I began working on it, but already the paint was peeling from the fiber-cement clapboards and the corner boards had begun to rot (see image 1). When we dug a little deeper, we discovered deteriorated sheathing and rotted framing, too (see images 2 & 3).
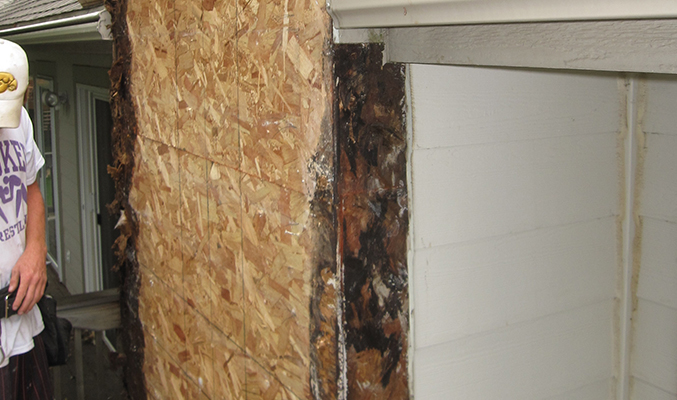
We found that most of the damage had been caused by water from the roof running behind the siding and down the sheathing — the result of some missing step flashings (see image 4). Adding to the problem, the chase’s OSB sheathing hadn’t been covered with a water-resistive barrier. In an attempt to save a few hundred dollars, some builders omit housewrap over garages, chases, and gables in the mistaken belief that it’s not required by code over unheated wall assemblies. In this case, a few extra flashings and some housewrap could have prevented thousands of dollars in damage.
Start at the Top: The Cricket
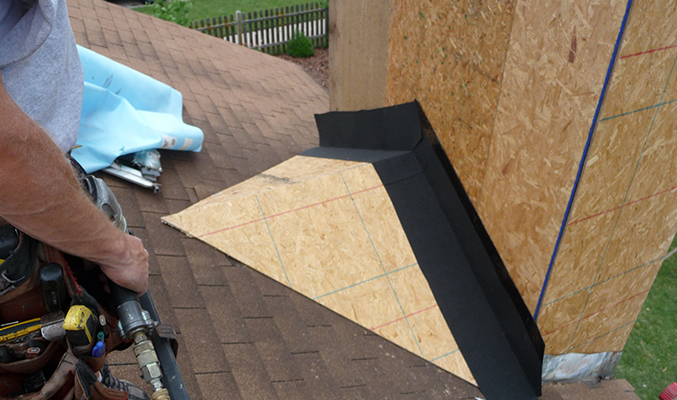
When we do a chase repair, we usually rebuild — or add — a water diverter, or cricket, at the top (see image 1). We make the cricket wider than the chase by about 6 inches on each side. Extending the cricket past the corners helps divert water flowing down the roof away from the chase and also simplifies step-flashing installation.
Some builders omit the cricket altogether and rely instead on a metal flashing at the roof-chase intersection — even when the chase is built on an eaves wall. But in my experience, the dam created by the metal flashing invariably fails. Crickets are more reliable, particularly in climates where snow can accumulate and lead to ice dams.
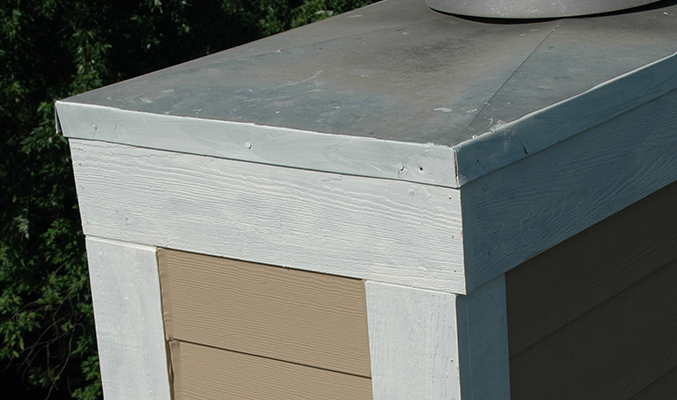
For chimney chases built into gable walls, we install a partial diverter (see image 2), again extending the sloped surface several inches beyond the corner (see image 3).
Kickout Flashings
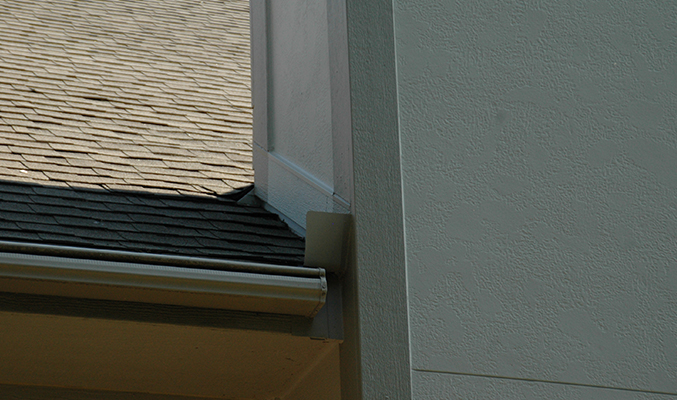
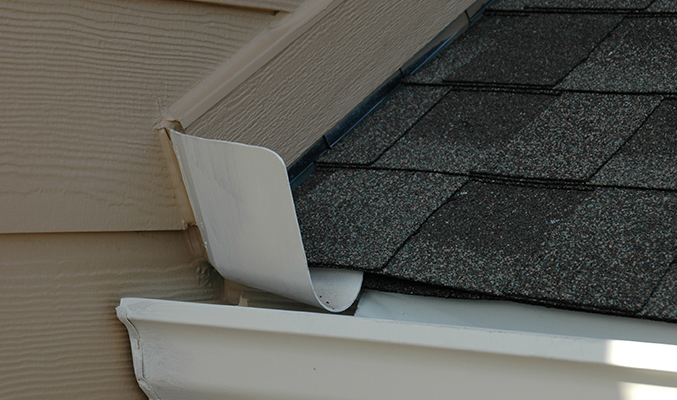
We always install diverter flashings wherever a roof intersects a wall; called kickouts, these keep water from running behind the cladding below and into the wall assembly (see images 1 & 2). Kickouts can be fabricated on site, but I like to use DryFlekt molded-plastic flashings (877/985-1010, dryflekt.com), which work well with various cladding materials. In the photos shown here, the water is diverted into gutters; but even without gutters, kickout flashings are very effective at protecting wall assemblies from water intrusion. As we install the flashings, we take care to integrate them with the housewrap so that there is a continuous drainage plane under the siding (see image 3).
Recladding the Chase
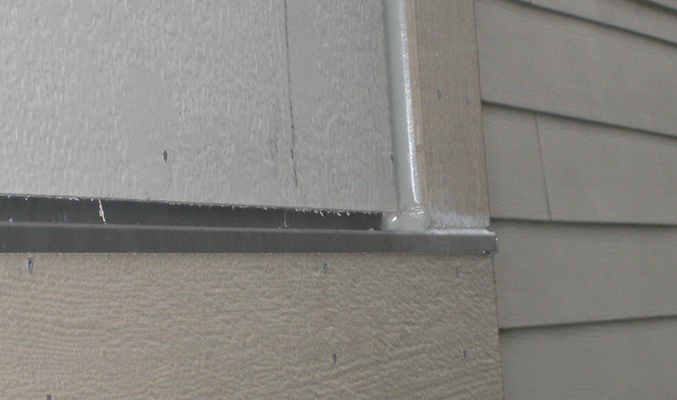
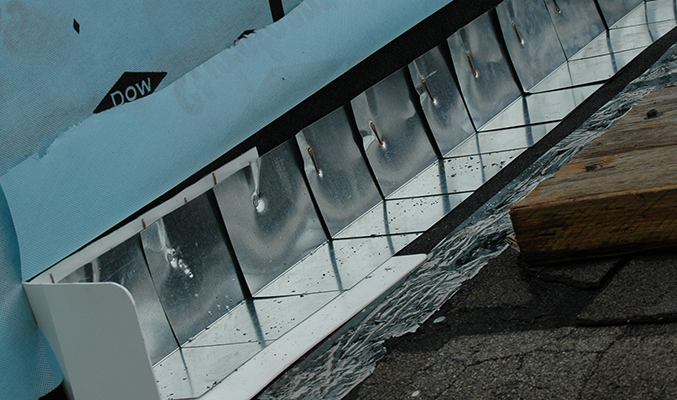
On this job, we wrapped the sheathing (see image 1) before trimming out the chase corners with MiraTec treated composite trim, then replaced the original fiber-cement lap siding with 5⁄16-inch-thick HardiePanel stucco-textured fiber-cement panels (see image 2). I don’t like the look of too much exposed step flashing, so we covered the steps with MiraTec trim installed at the pitch of the roof, maintaining an inch of clearance between the trim and the shingles (see image 3). Some builders try to hide step flashings completely, but that’s a bad idea, as this photo from another job shows (see image 4).
We installed Z-flashing at most of the horizontal joints, and caulked the vertical joints with Flexible Seal elastomeric tripolymer sealant (562/946-8781, flexibleseal.com). Where the HardiePanels butt against each other, we left a 3⁄16-inch-wide gap between panels and sealed the gaps with beads of sealant.
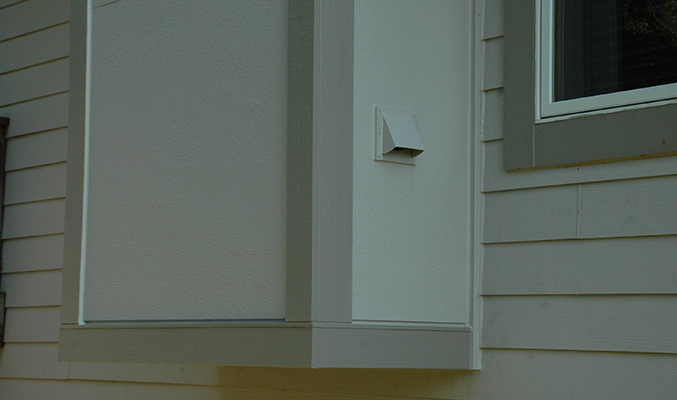
We replaced the existing plastic vent hood for the fireplace’s makeup air supply with a metal one, mounting it on a PVC block and cutting the siding panel around it (see image 5). The block is sealed to the panel with sealant, but we left the joint between the bottom of the panels and the Z-flashing capping the trim at the chase base uncaulked, to allow any moisture that gets between the siding and the drainage plane to escape (see image 6).

Why I am NOT a Home Inspector
Call Before It's an Emergency
© Copyright 2026, The Building Consultant/Mark Parlee
Des Moines Web Design  by Flying Hippo