December 31, 2010
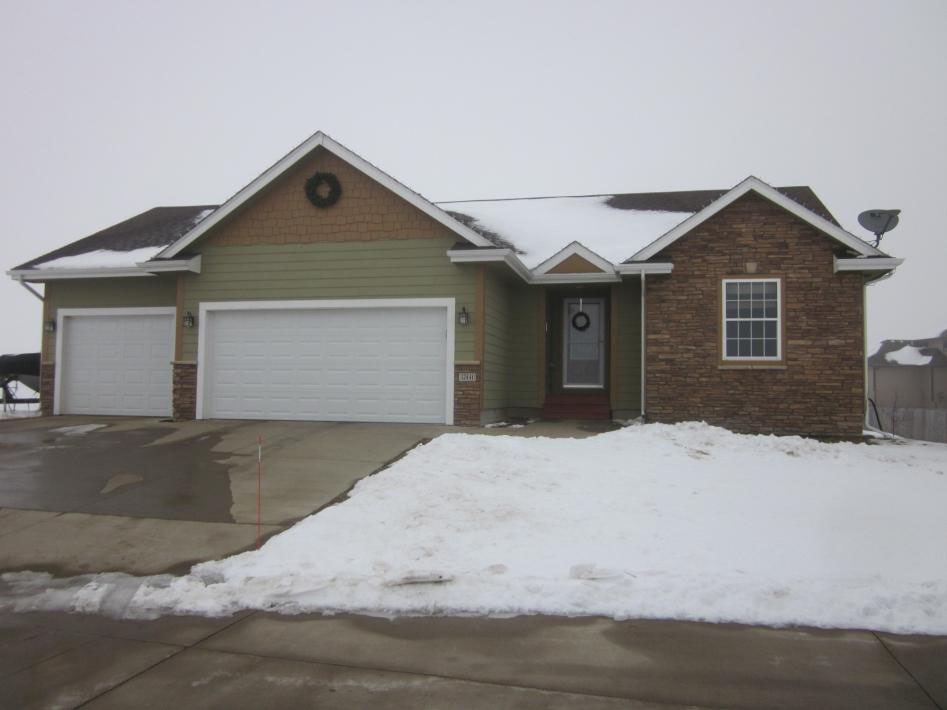
The following pages contain captioned pictures of the problems I observed at my visit to the residence in Granger, IA on December 30, 2010.
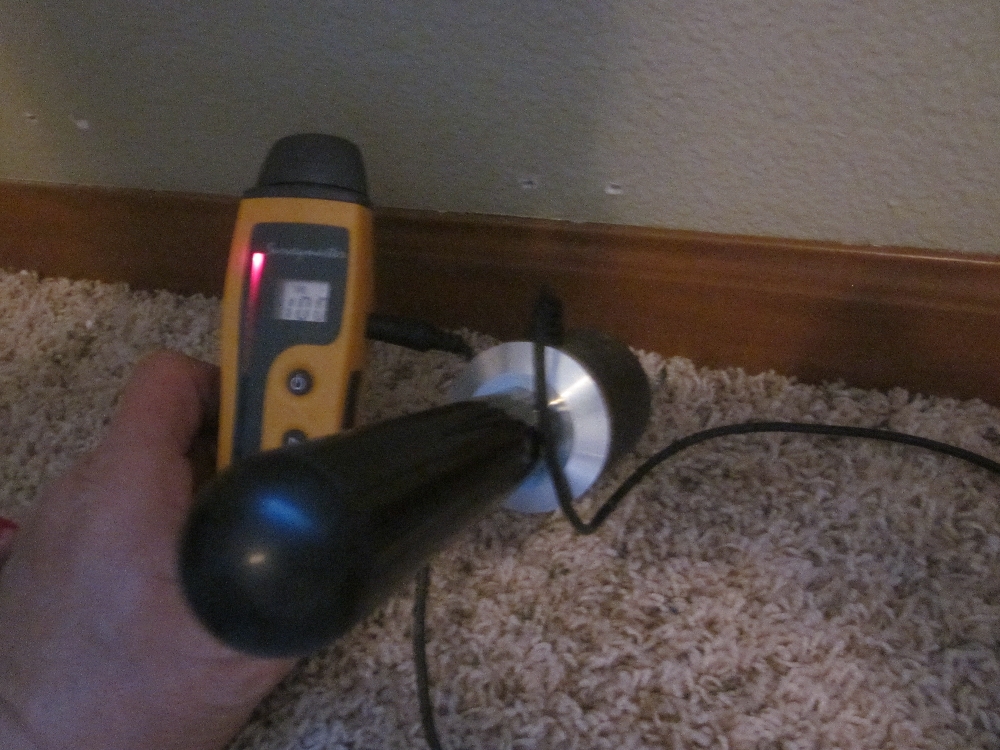
I started with some non-invasive moisture measurements and moved to invasive methods, opening up the wall. At all points of measurement, confirmation of moisture intrusion into the interstitial wall cavity existed. Upon opening up the wall, wet insulation was discovered. The smell of a microbial action was present. The exterior wall sheathing is saturated with moisture.
I advise removing all of the stone on this front wall, removing the exterior wall sheathing, replacing the insulation, and anything else observed to be affected. I Think this can be done from the outside so disruption to the interior of this room can be kept to a minimum. The drywall is isolated from the wall cavity with a sheet of plastic that was installed to act as a vapor barrier. This may have protected the drywall from exposure to moisture, making replacement minimal or unnecessary. This can be further assessed at the time of correction and repair. There are quite a few installation details regarding the exterior cladding of this home that are deficient when compared to the manufacturers’ specifications for the various materials used. These will lead to less than satisfactory performance and premature failure unless corrected. I have called out a few of these details but am not exhaustive in this report.
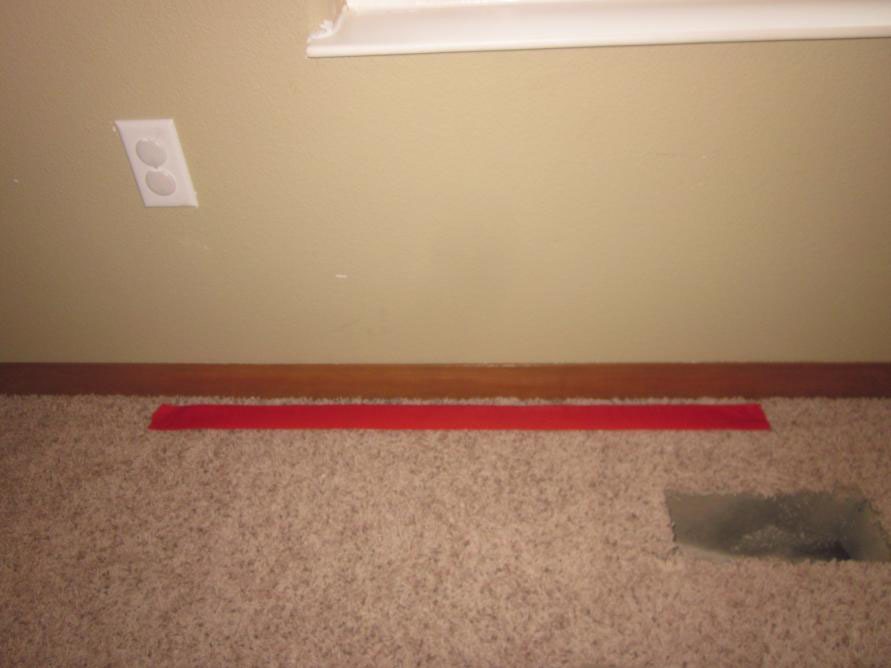
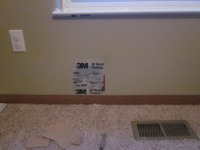
Owner stated the carpet was wet in the approximate area of the red tape.
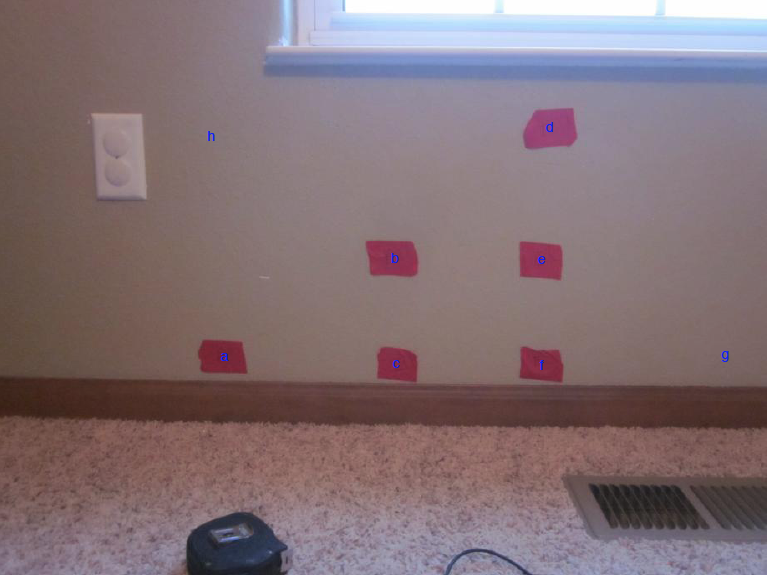
These measurements map out the moisture in the wall assembly. MC (moisture content):
- a = 100
- b = 96
- c = 100
- d = 22
- e = 30
- f = 22
- g = 26
- h = 25
The probes easily puncture the OSB floor sheathing indicating degradation.
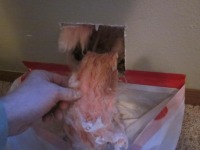
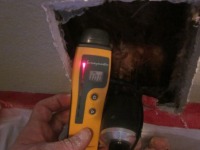
An inspection port was cut into the drywall. The fiberglass insulation is dripping wet. The back of this piece of drywall was visually clear of microbial activity. There is an odor of microbial activity. The inspection port is sealed to inhibit any contamination of microbial particulates into the inside environment.
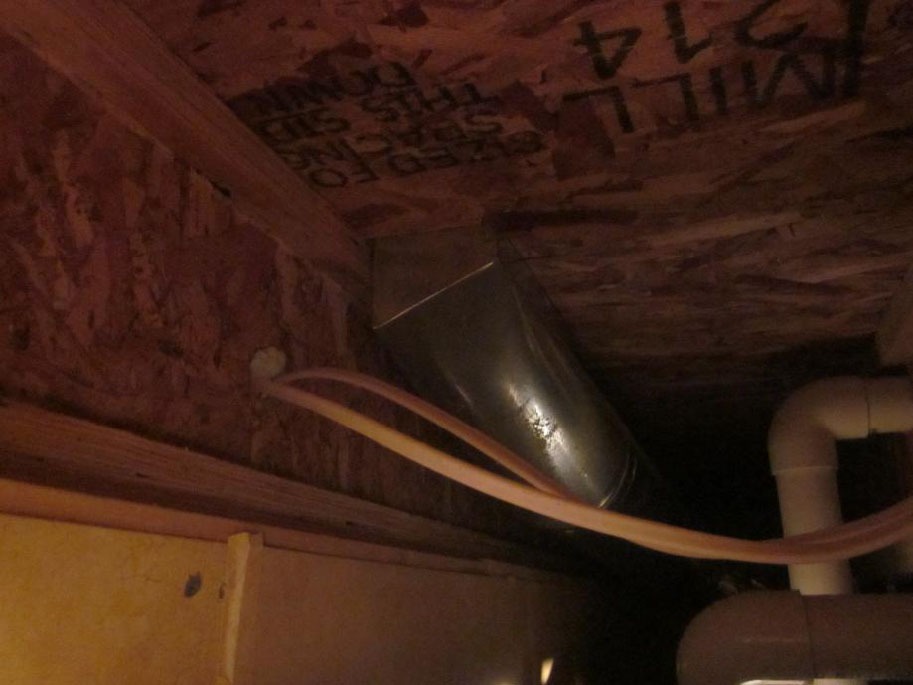
This is a view of the floor assembly under the exterior wall where the moisture was discovered. The positioning of the I-joist blocks access to the space directly under the wall. This area will have to be accessed from the outside when the repairs and corrections are being performed.
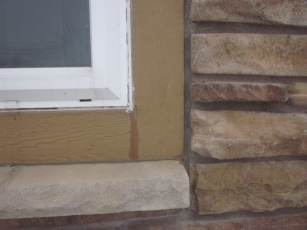
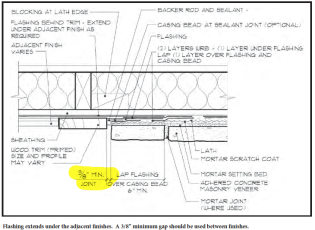
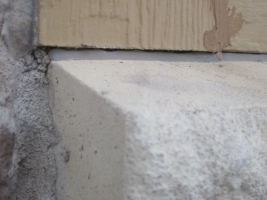
The joint at the stone/ trim does not allow for expansion/ contraction where dissimilar materials meet. This joint is to be a backer rod/ sealant style joint. The sill lacks the metal flashing.
The sealant joint at he window/trim is not done to correct specifications for a vinyl window. Most manufacturers of vinyl windows specify a joint width of 1/4″ to 3/8″ minimum to be sealed with a backer rod and sealant-style joint to allow for thermal expansion of the window.
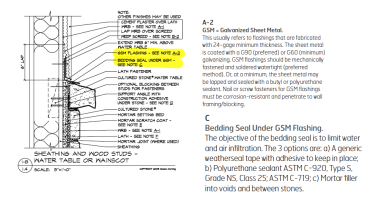
In addition to this detail being incorrect in the first place, the sealant is not applied in a complete manner. This is missing the metal flashing at the top of the sill.
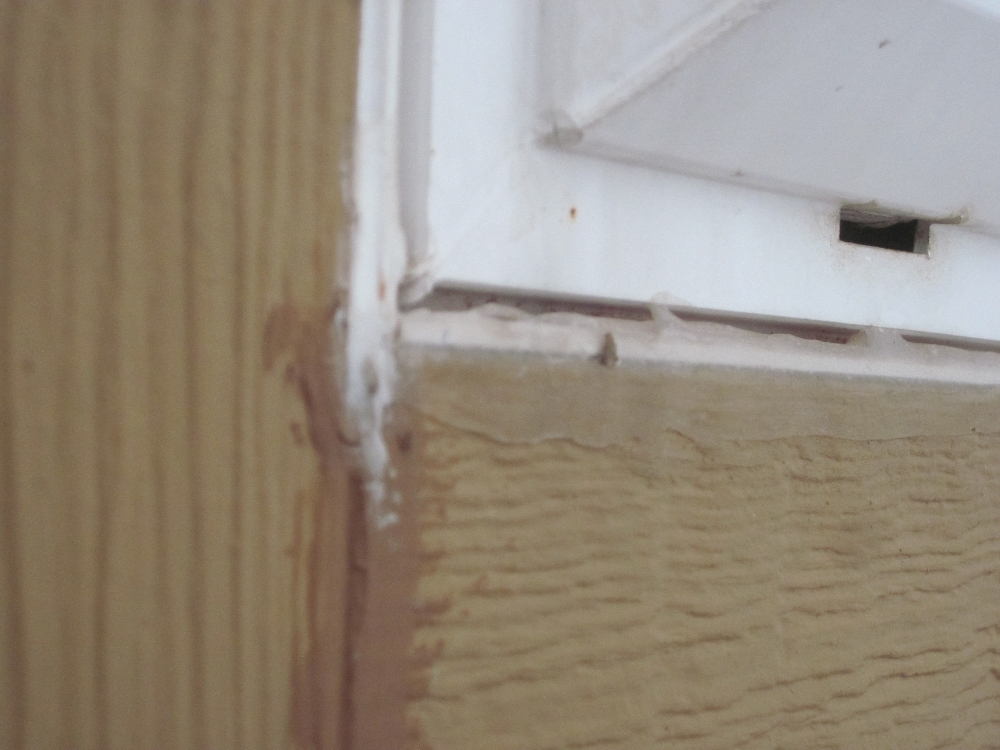
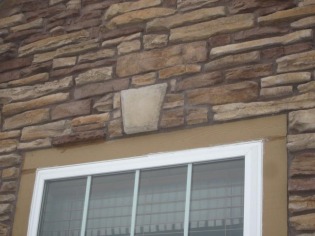
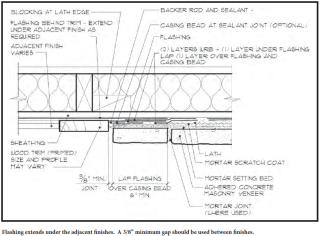
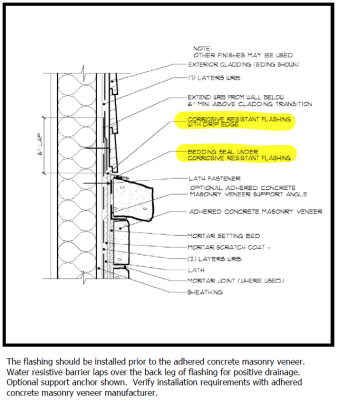
The trim at the window lacks a correct joint at both the window and the masonry veneer. The top trim lacks both the metal protective flashing as well as a drainable weep screed detail.
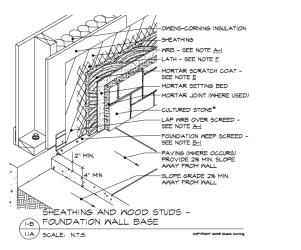
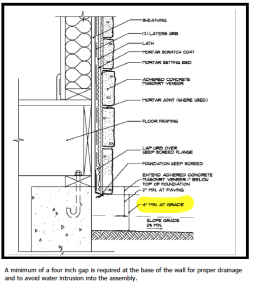
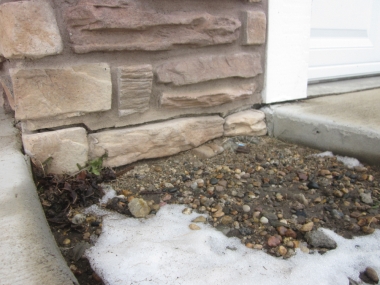
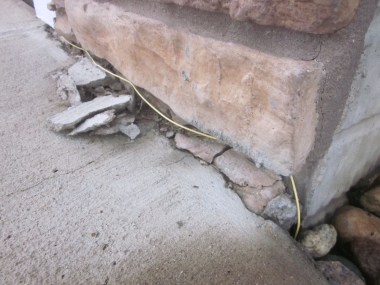
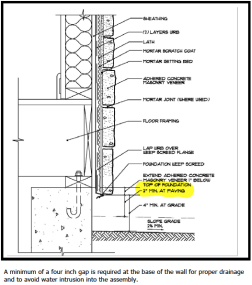
A 4″ clearance is recommended from grade to the masonry veneer. Also suggested is the use of a weep screed to promote drainage of incidental moisture.
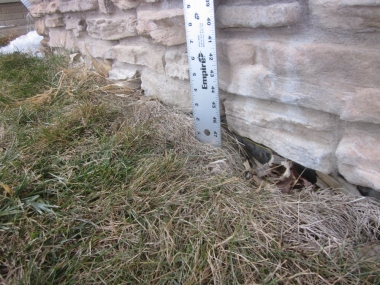
The dirt is backfilled over the face of the masonry veneer, ignoring the 4″ clearance of stone to grade.
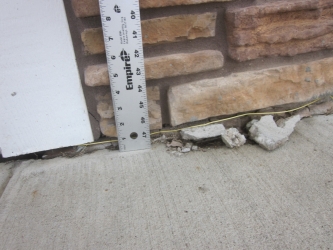
The concrete is actually poured over the face of the masonry veneer. Seasonal movement to the drive concrete is destroying the masonry veneer. The 2″ clearance was ignored.
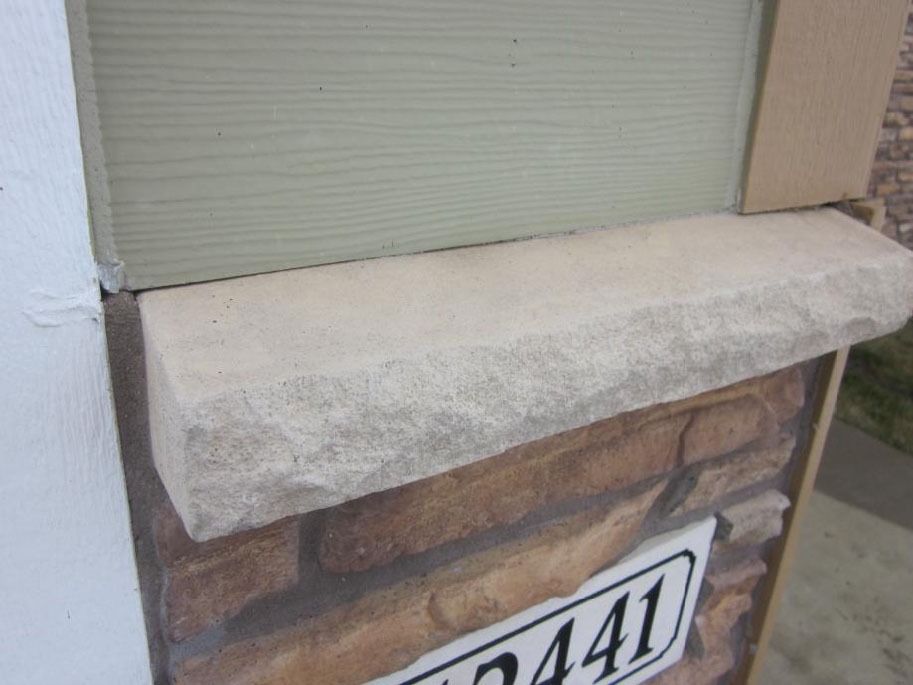
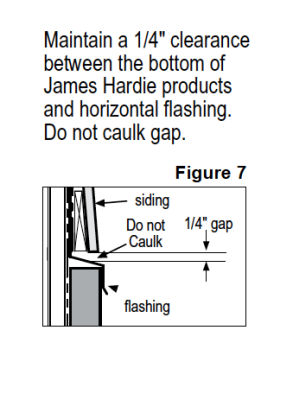
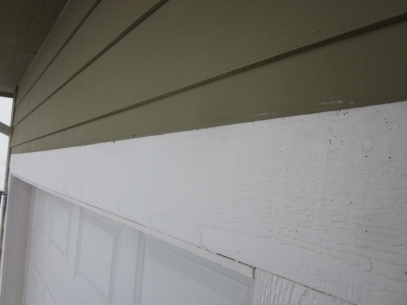
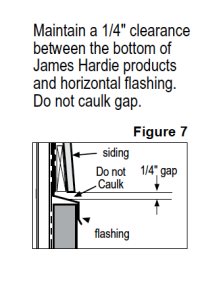
The flashing detail is missing from the stone sill. This metal is to be 24 Ga galvanized metal. There is to a 1/4″ clearance from this metal to the bottom of the fiber cement siding.
A metal drip flashing is required above all protruding wood trim. The head jamb material extending under the head trim is a poor construction detail. Instead, the trim should cover this joint to give protection from moisture acting in capillarity.
