September 3, 2010
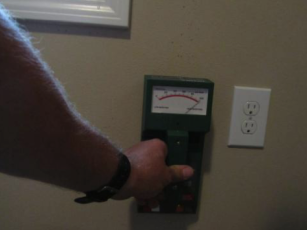
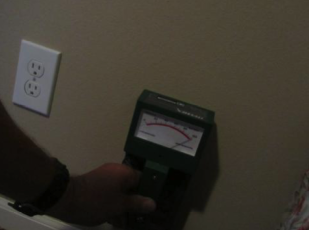
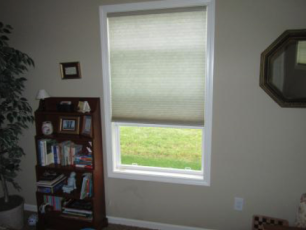
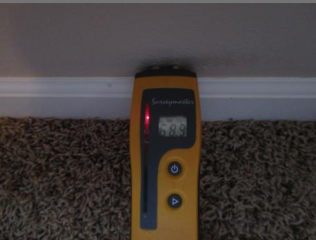
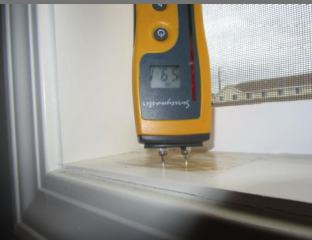
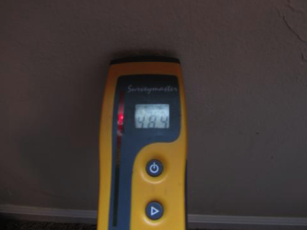
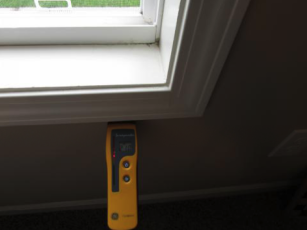
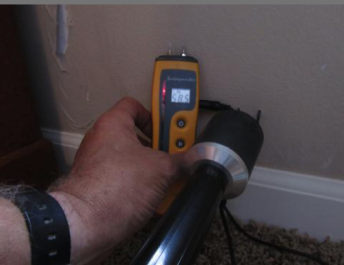
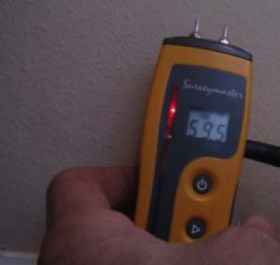
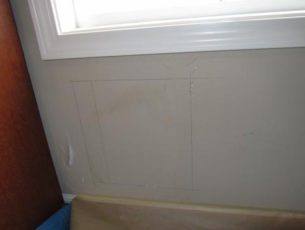
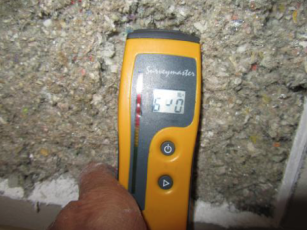
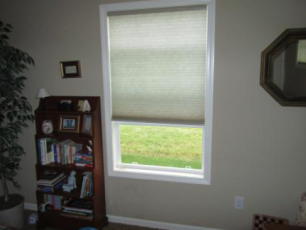
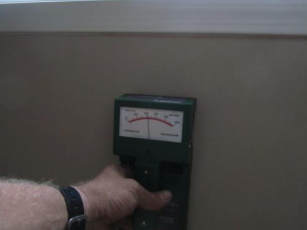
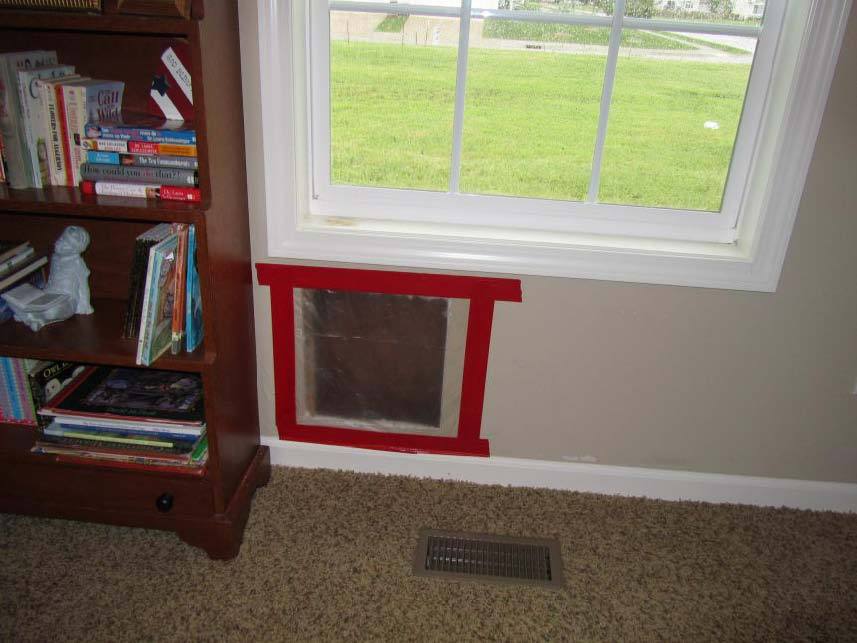
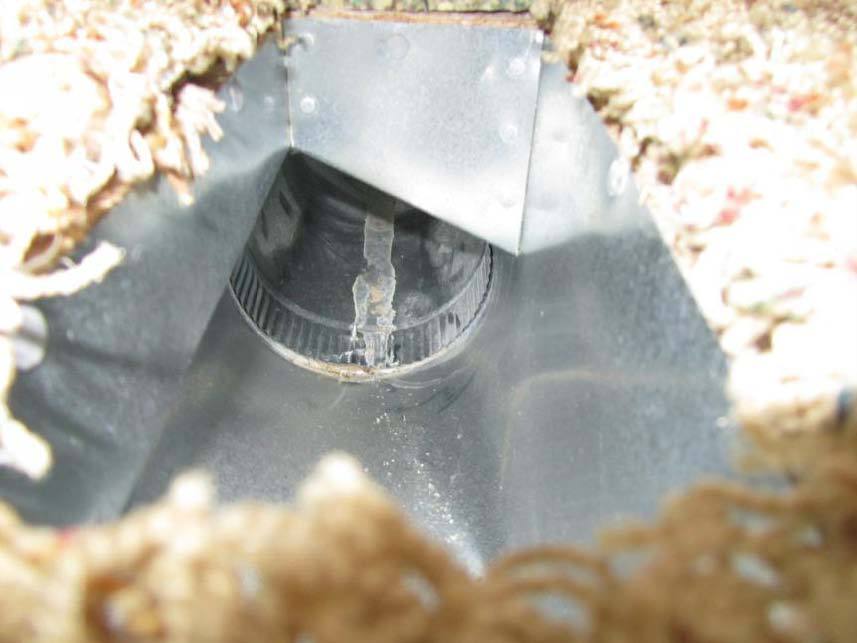
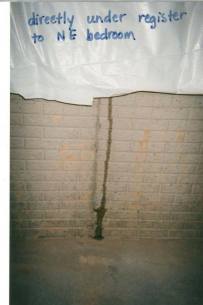
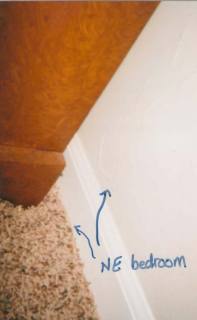
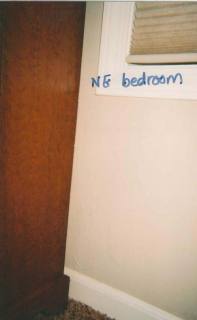
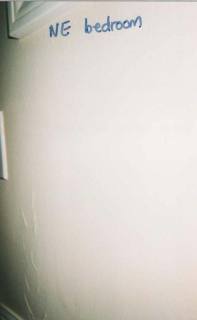
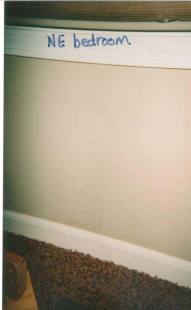
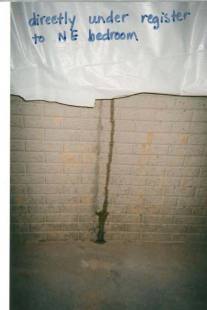
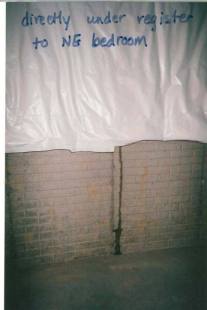
I was called me to look at a moisture stain on the drywall under the window in the northeast bedroom as well as some other points of moisture entry into the home. The drywall is degrading due to this excess moisture and there are some moisture stains in the air vent under the window.
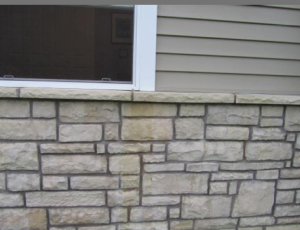
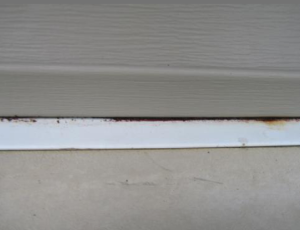
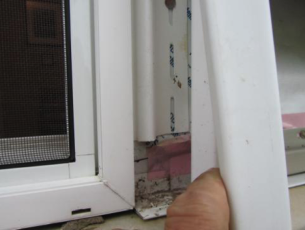
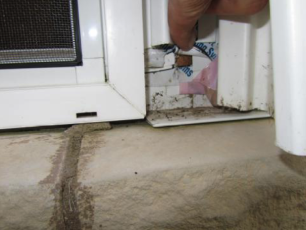
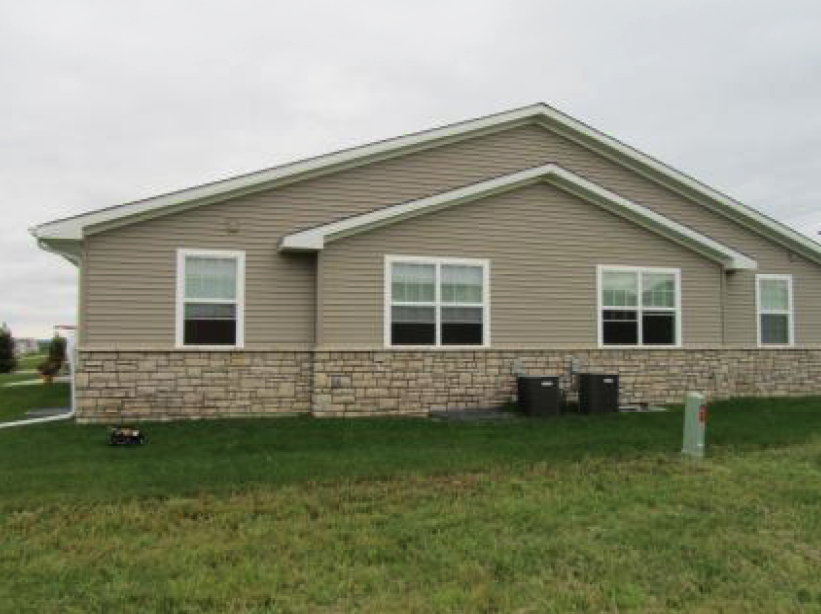
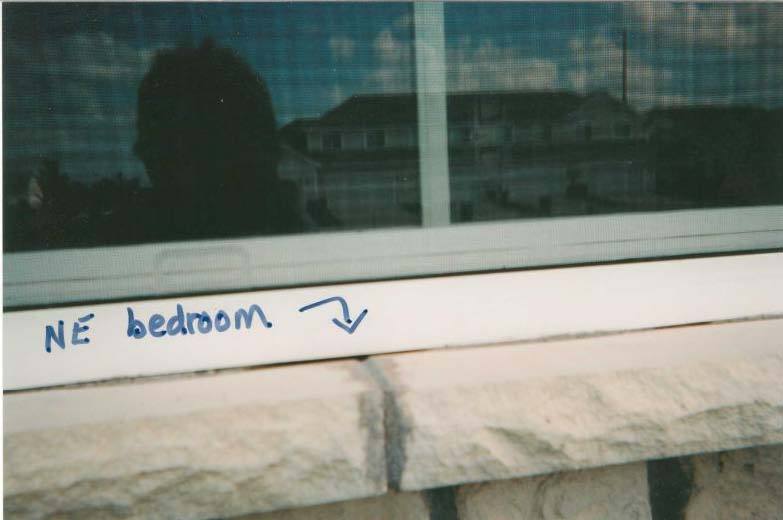
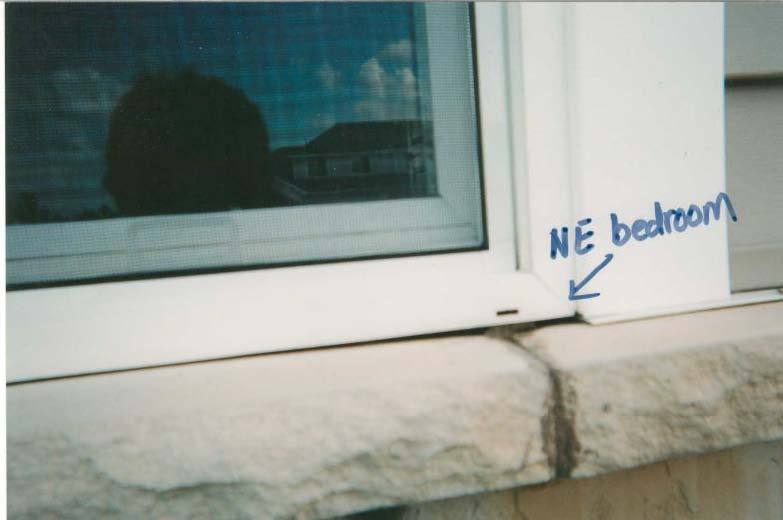
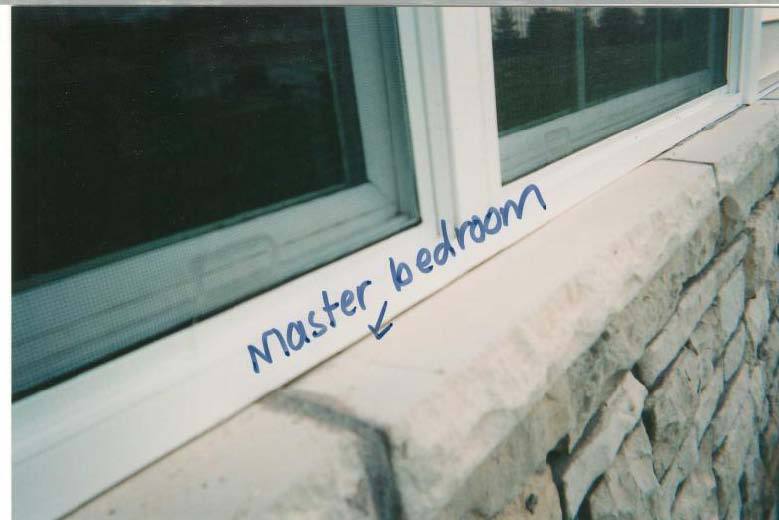
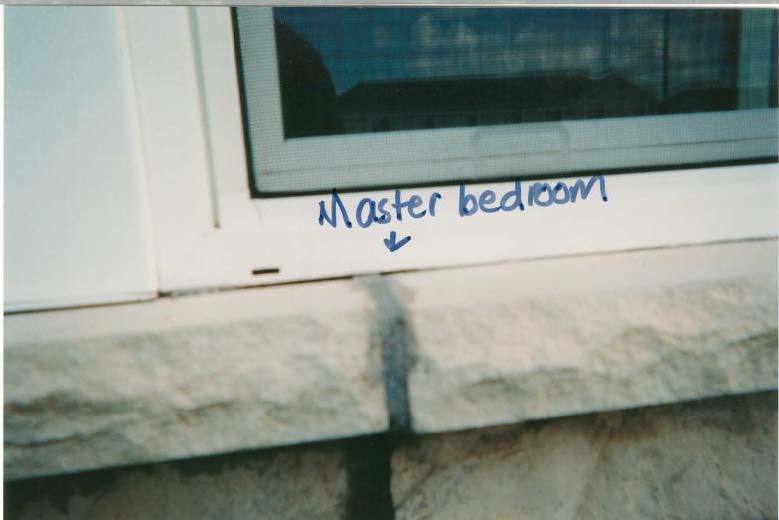
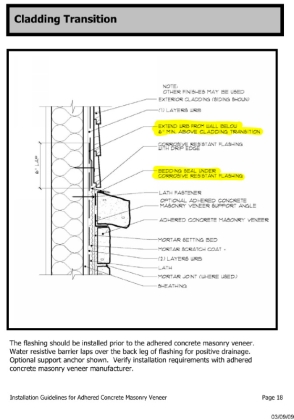
First I looked at the exterior to see if there were any indicators of moisture problems. The stone below the edge of the window is staining, indicating moisture from either the top down or from the back side out, or a combination of both. The color of this staining is slightly brown. This is an indication that some of the building material is getting wet and leaching out to or over the surface of the stone. I opened up the siding to make further observation. The aluminum metal flashing at the top of the stone is surface-taped to the outside of the WRB. Instead of being integrated into the WRB (weather resistant barrier) as the MVMA (masonry veneer manufacturers association) recommends. This flashing has a lot of rust debris settling on it; the source of this rust appears to be the fasteners used to attach the siding. This deserves further consideration as the rust may stain the surface of the stone facade.
A section of the tape appeared to be coming loose, exposing a small section of the OSB wall sheathing. The OSB was slightly weathered in this visible area indicating exposure. This small defect is not the cause of all this moisture intrusion.
I recommend a section of the stone be removed from beneath the window extending two feet to either side. This will give a clear view to the application of the stone as well as the window flashing detail. The wall does appear to be wetter under the window; this would agree with a lack of protection of flashing at the bottom of the window that I observed.
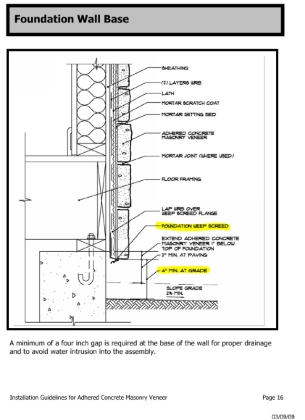
The stone is at grade level; this is not a recommended detail by most manufacturers of these types of stone veneer. Over the past few years, the various stone manufacturers have seen the need to come together and address the problems associated with the installation of this type product. Many have done so under the organization called The Masonry Veneer Manufacturers Association. They have some very detailed documentation as to installation of this type of product.
This has been born out of necessity to combat the problems that have plagued this largely
unregulated industry.
In the following pages I am addressing the leak at the NE bedroom window. There are other discrepancies in detail regarding the installation of the stone that can be addressed at the time of the repair.
The last couple pages of this document are pages from the MVMA installation document dated 03/09/09. There is a newer document from this organization revised June 8, 2010 that I would adhere to in the repairs to this stone facade. I highly recommend using the optional rainscreen assembly that is referred to in this manual.
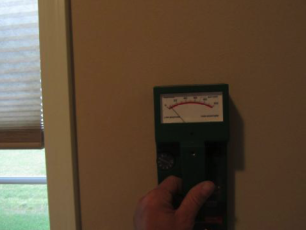
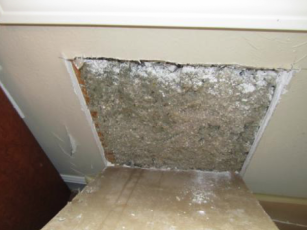
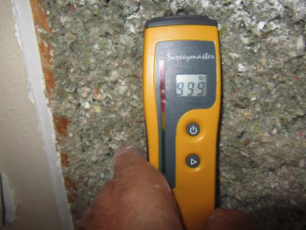
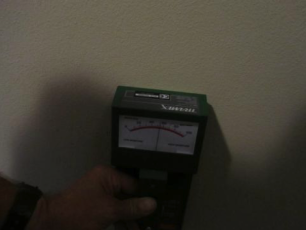
I also recommend testing the drywall in the area of the stone to see if the moisture level warrants its replacement. The cellulose insulation that is in your walls does contain an anti-microbial agent according to its supplier; this should keep the potential of mold to a minimum. I advise precautions be taken during the repair procedure to ensure any microbial contamination be kept to a minimum. Time is of the essence in repairing wet walls.
